
How to install hexo? A step by step guide for beginners
Hexo is one of the fastest and most powerful blog frameworks based on Node.js.In this step-by-step guide, we’ll show you how to install Hexo, how to create your blog, and how to customize your blog to match your style.
Prerequisites
Before you jump into Hexo, make sure you have all the necessary components installed on your computer. Node.js is the engine that powers Hexo and provides the runtime environment. Git helps you manage the version control of your blog's code. If you do not already have them installed, follow these links to install node.js and git.
Node.js : Node.js should be at least 10.13, 12.0 or above is recommended.
How to get started?
To install Hexo on a global level, you will need to open your terminal (CLI) and execute the following command:
npm install hexo-cli -g
The Hexo CLI is installed globally on your computer using this command, so you can easily create and manage blogs powered by Hexo.
Let’s build a new Hexo blog. Go to the directory in which you want to build your blog and execute the following:
hexo init myblog
cd myblog
npm install
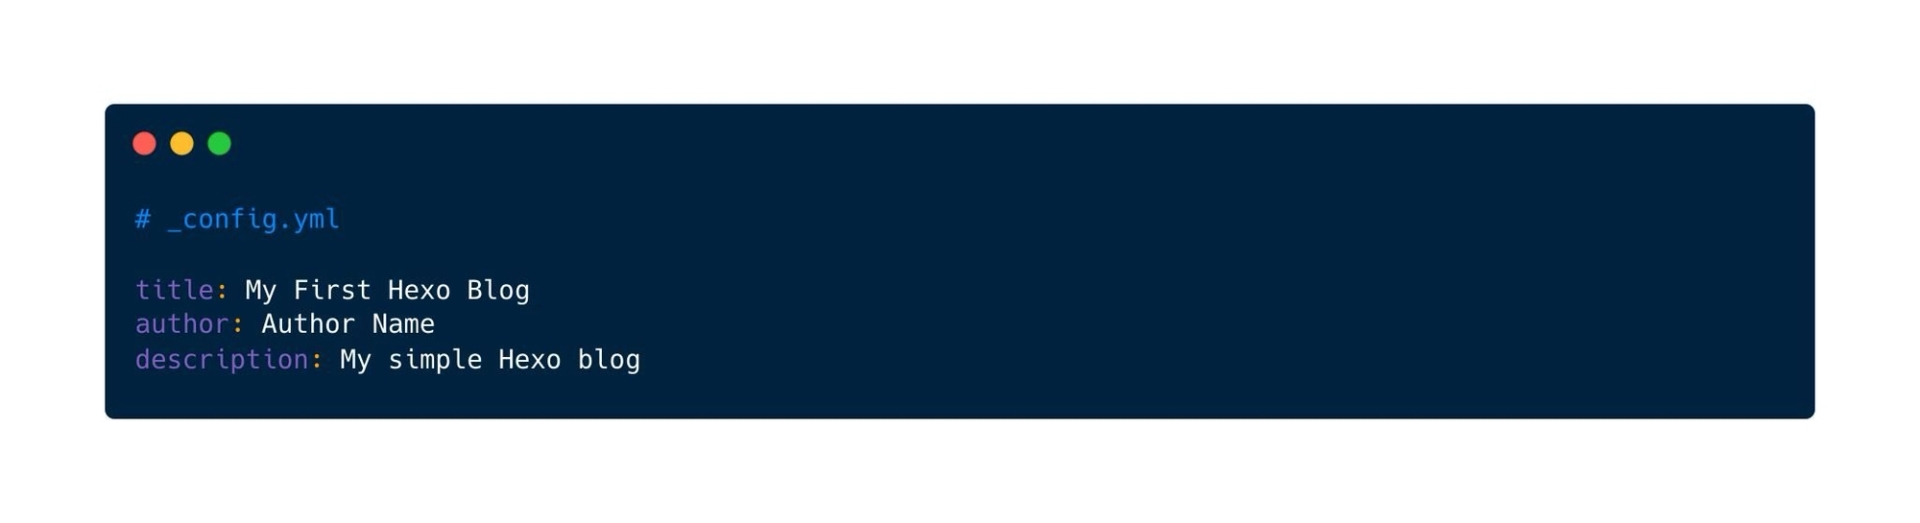
Use a text editor to open _config. yml in your blog's directory. Modify your blog's configuration settings such as title, author, and more.
Run the following command to generate a new blog post:
hexo new "My First Hexo Post"
Create a markdown file in source/_posts. Add your content to the file.
To check the appearance of your blog, execute the following command:
hexo server
Open your browser and navigate to the following location: Your blog should now be displayed at http://localhost:4000. You should now be able to view your blog with its default theme.
The default theme in Hexo is the default theme. However, you can explore and select other themes. If you want to change the theme, you can update the theme field of the _config. yml file.
Once you have selected the theme you want to use in Hexo, you can install it. Follow the instructions in the documentation to install and customize the theme.
Once you’re happy with your blog you can create the static files using:
hexo generate
The static files will be created as a public folder. These files can then be deployed to your preferred hosting provider.
Conclusion
Bravo🎉 Your first Hexo blog is up and running! This is the start of your digital journey, and the sky is the limit. Now that you have the basics set up, it’s time to get creative and make your blog your own.